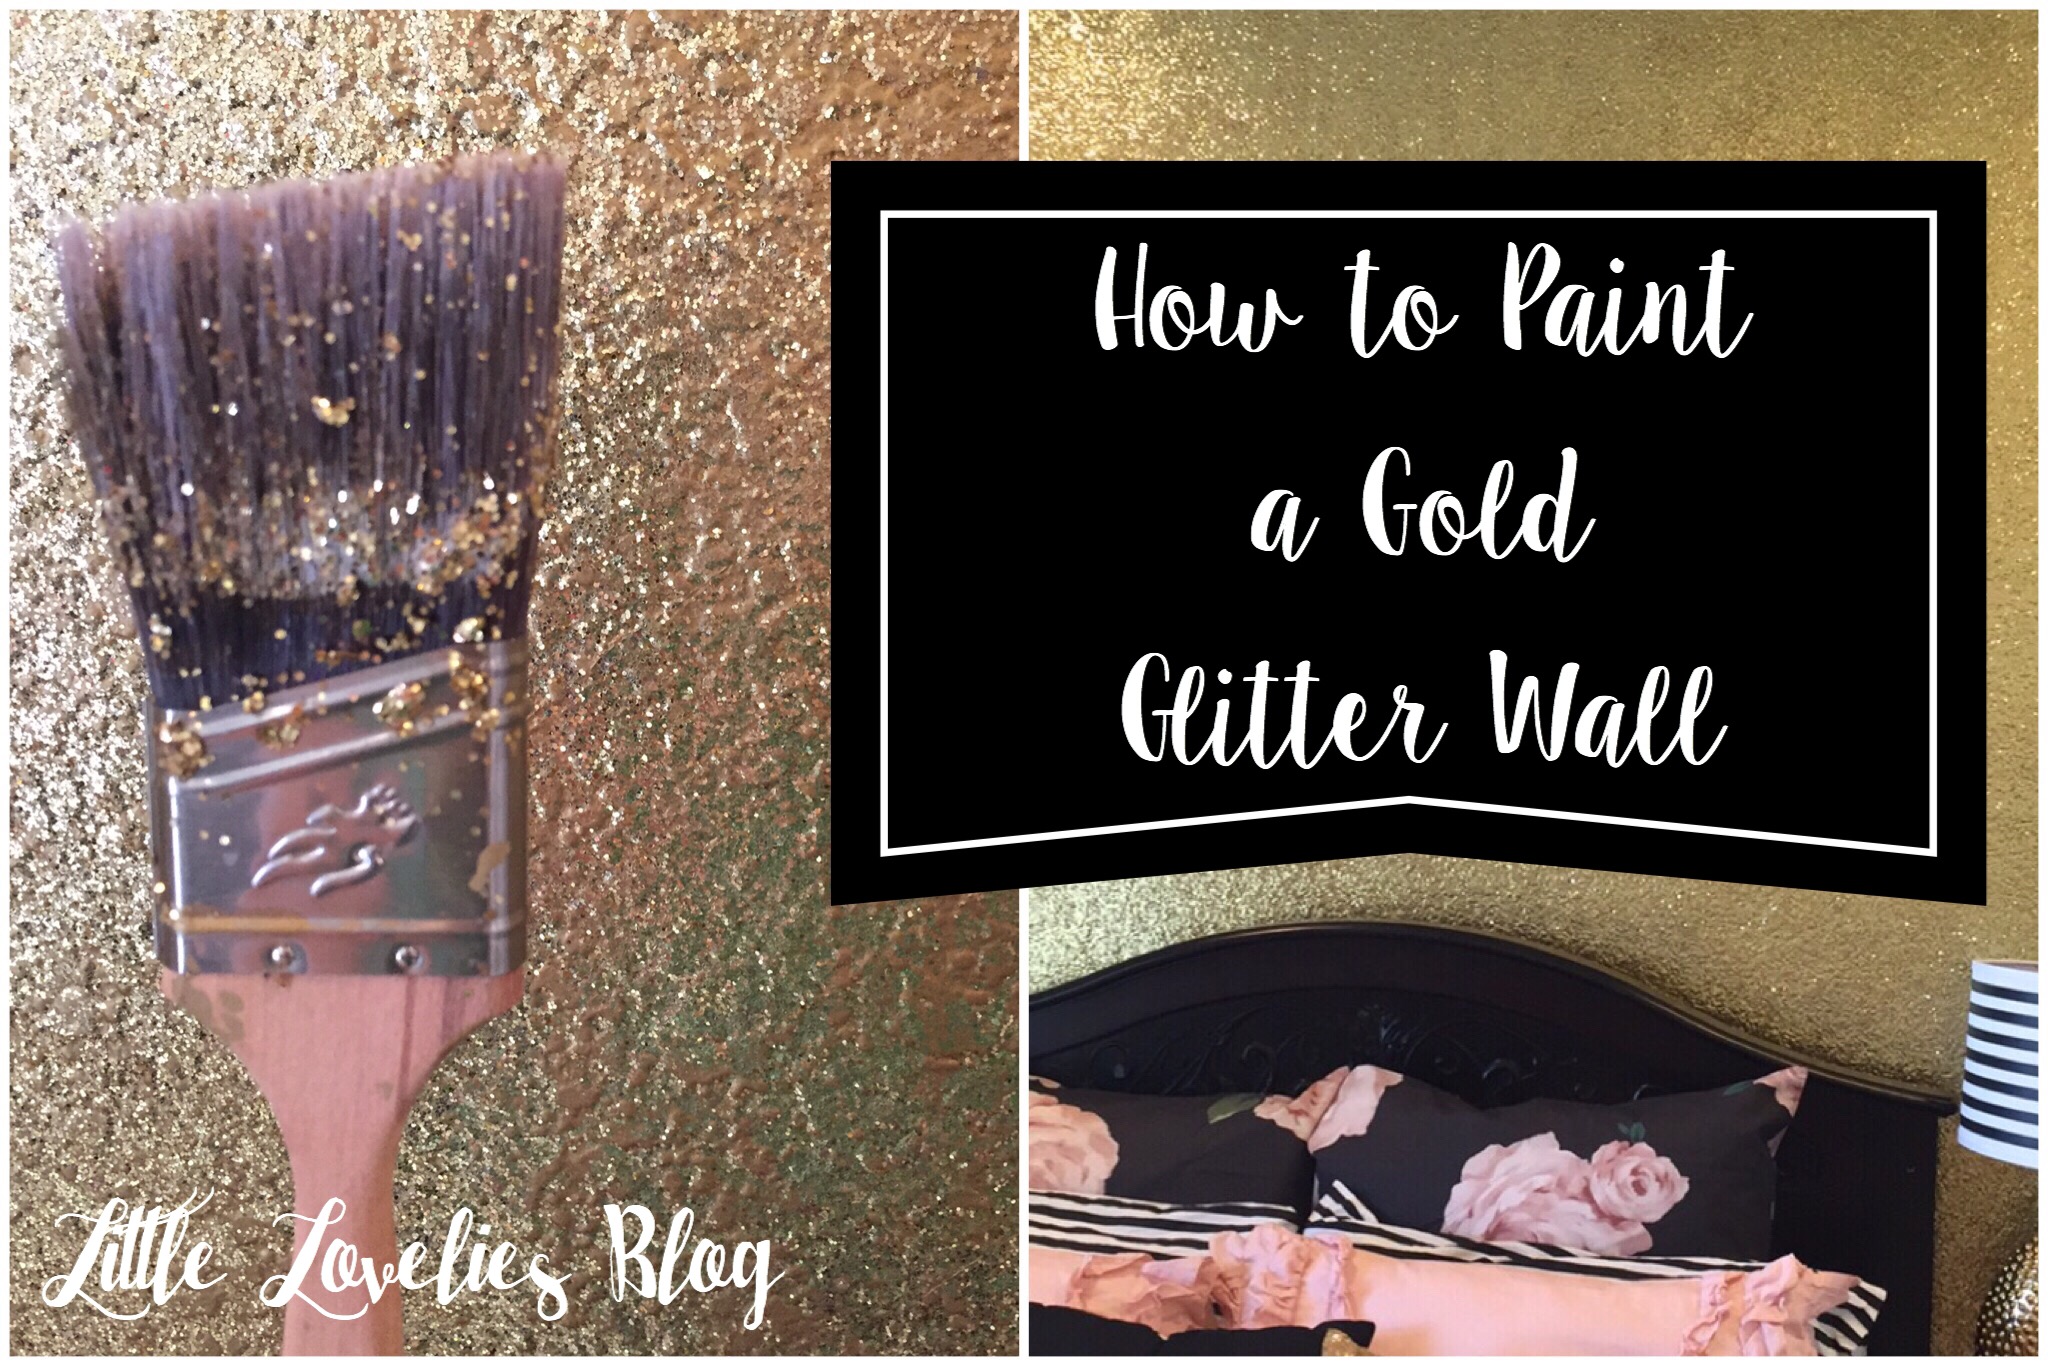
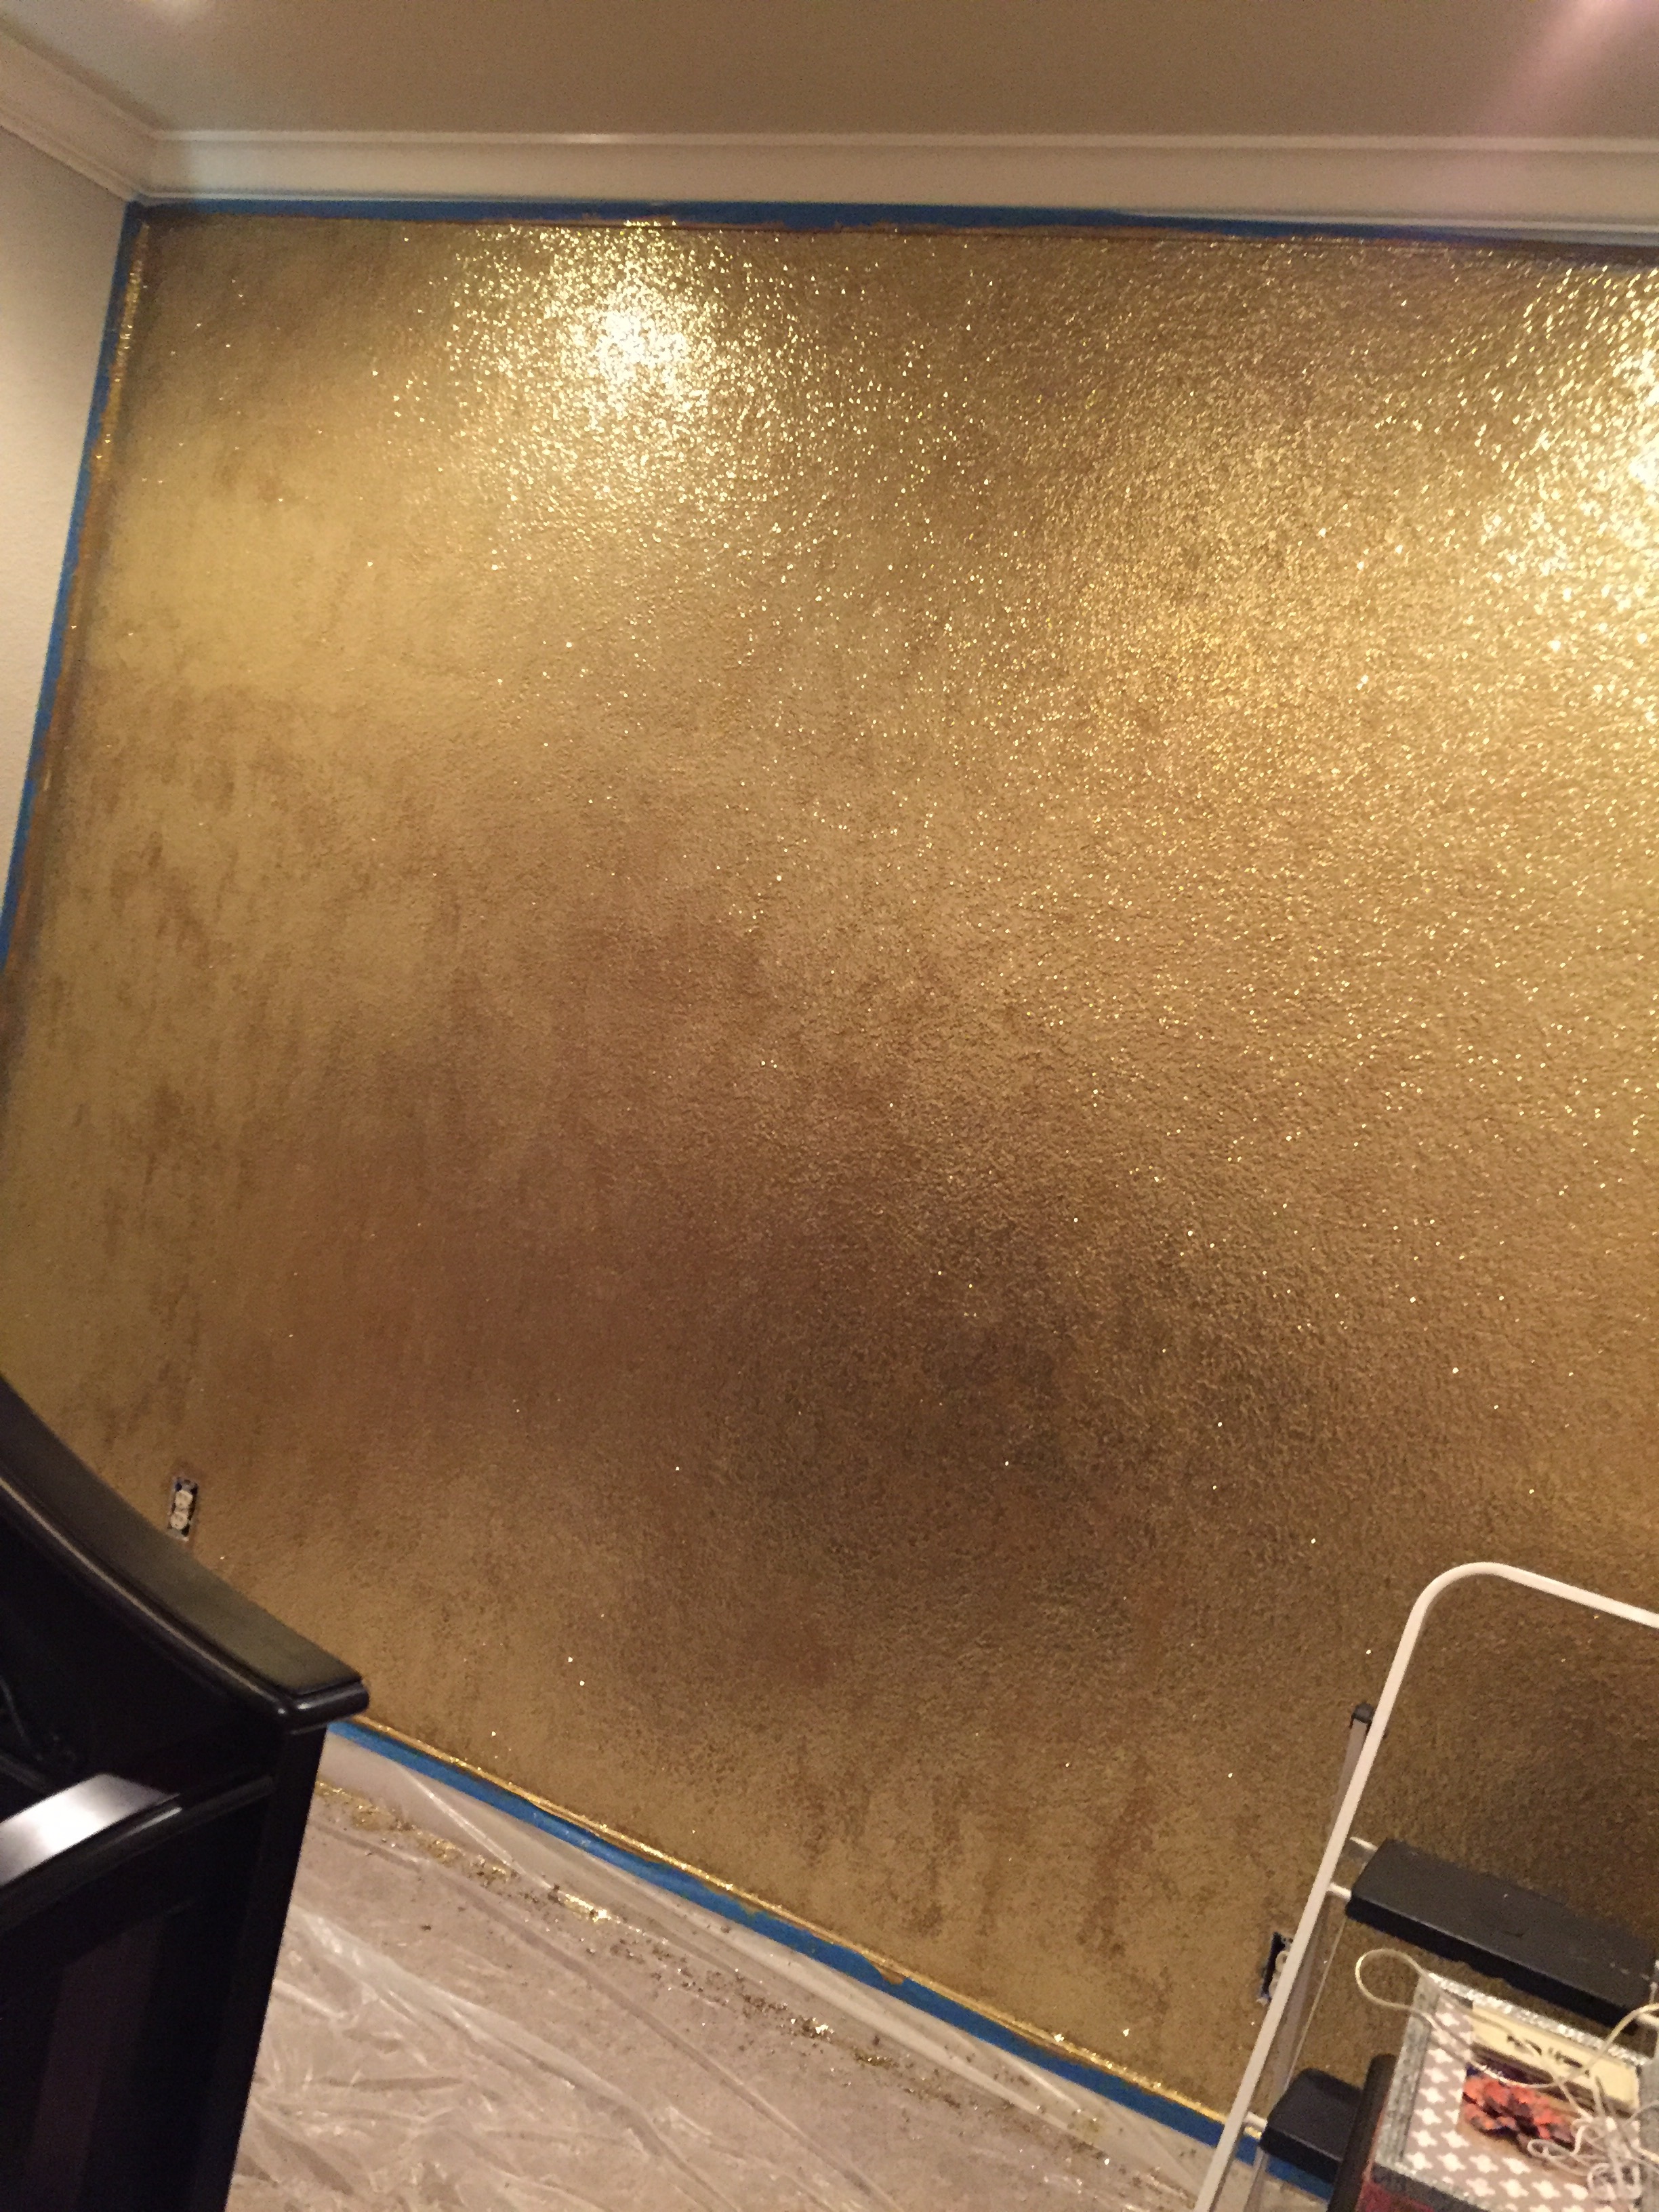
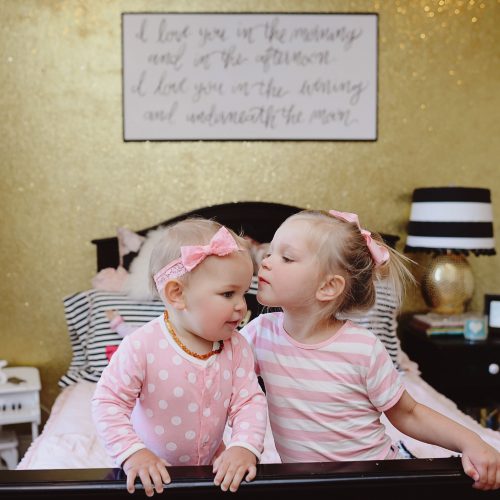
Laikyn is 2 and a half now, and we decided to move her to a big girl bed recently! Before we did that, I wanted to transform her room a little to make it feel more like her room and less nursery! She requested a sparkly princess room with pink, so this is what I came up with. I wanted to do a solid gold glitter wall, but couldn’t find any DIY or how-tos on how to do it! It was trial and error, but I really love how it turned out! I wanted to show y’all how I did it for anyone that has a little girl (or yourself) dreaming of a wall full of glitter! So here is how I painted a wall with gold glitter
You can do this with any color of glitter. She just wanted gold! Here are the steps I took to make her wall a success:
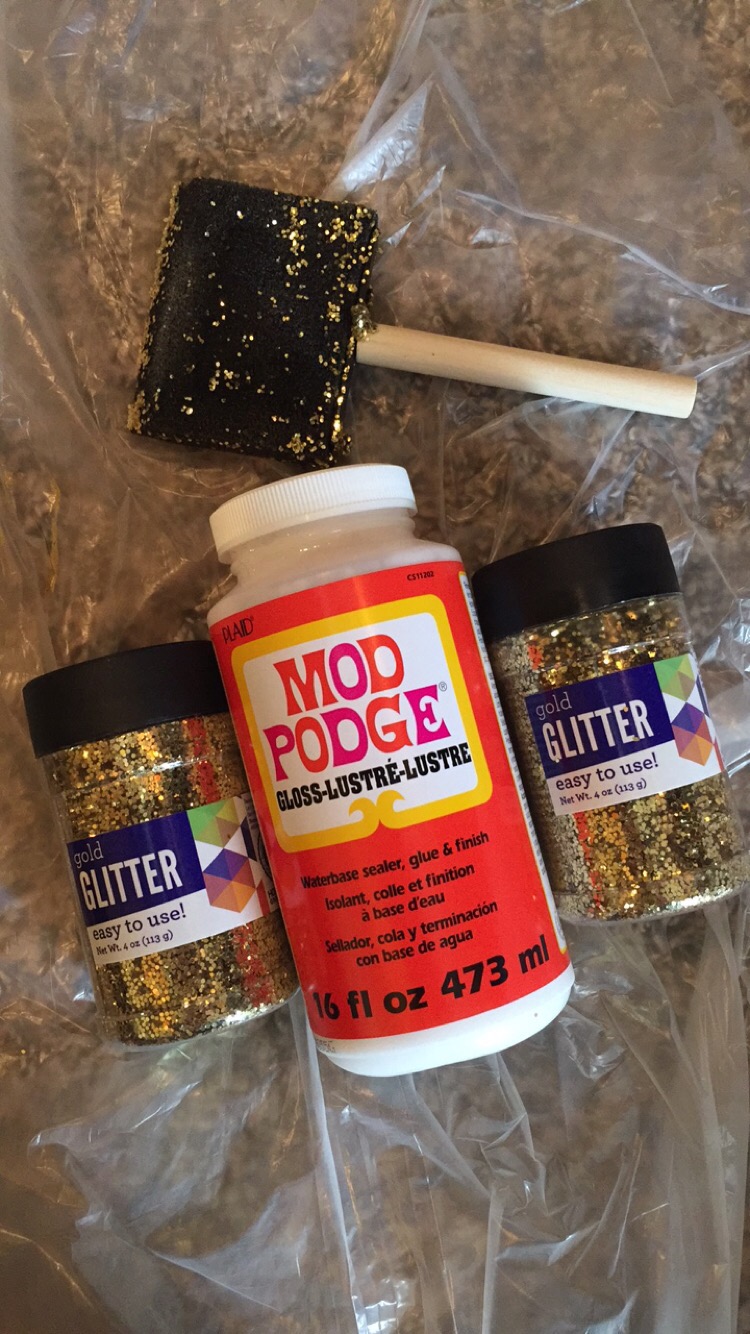
You will need these supplies + Valspar Aged Brass Paint:
Before/After:
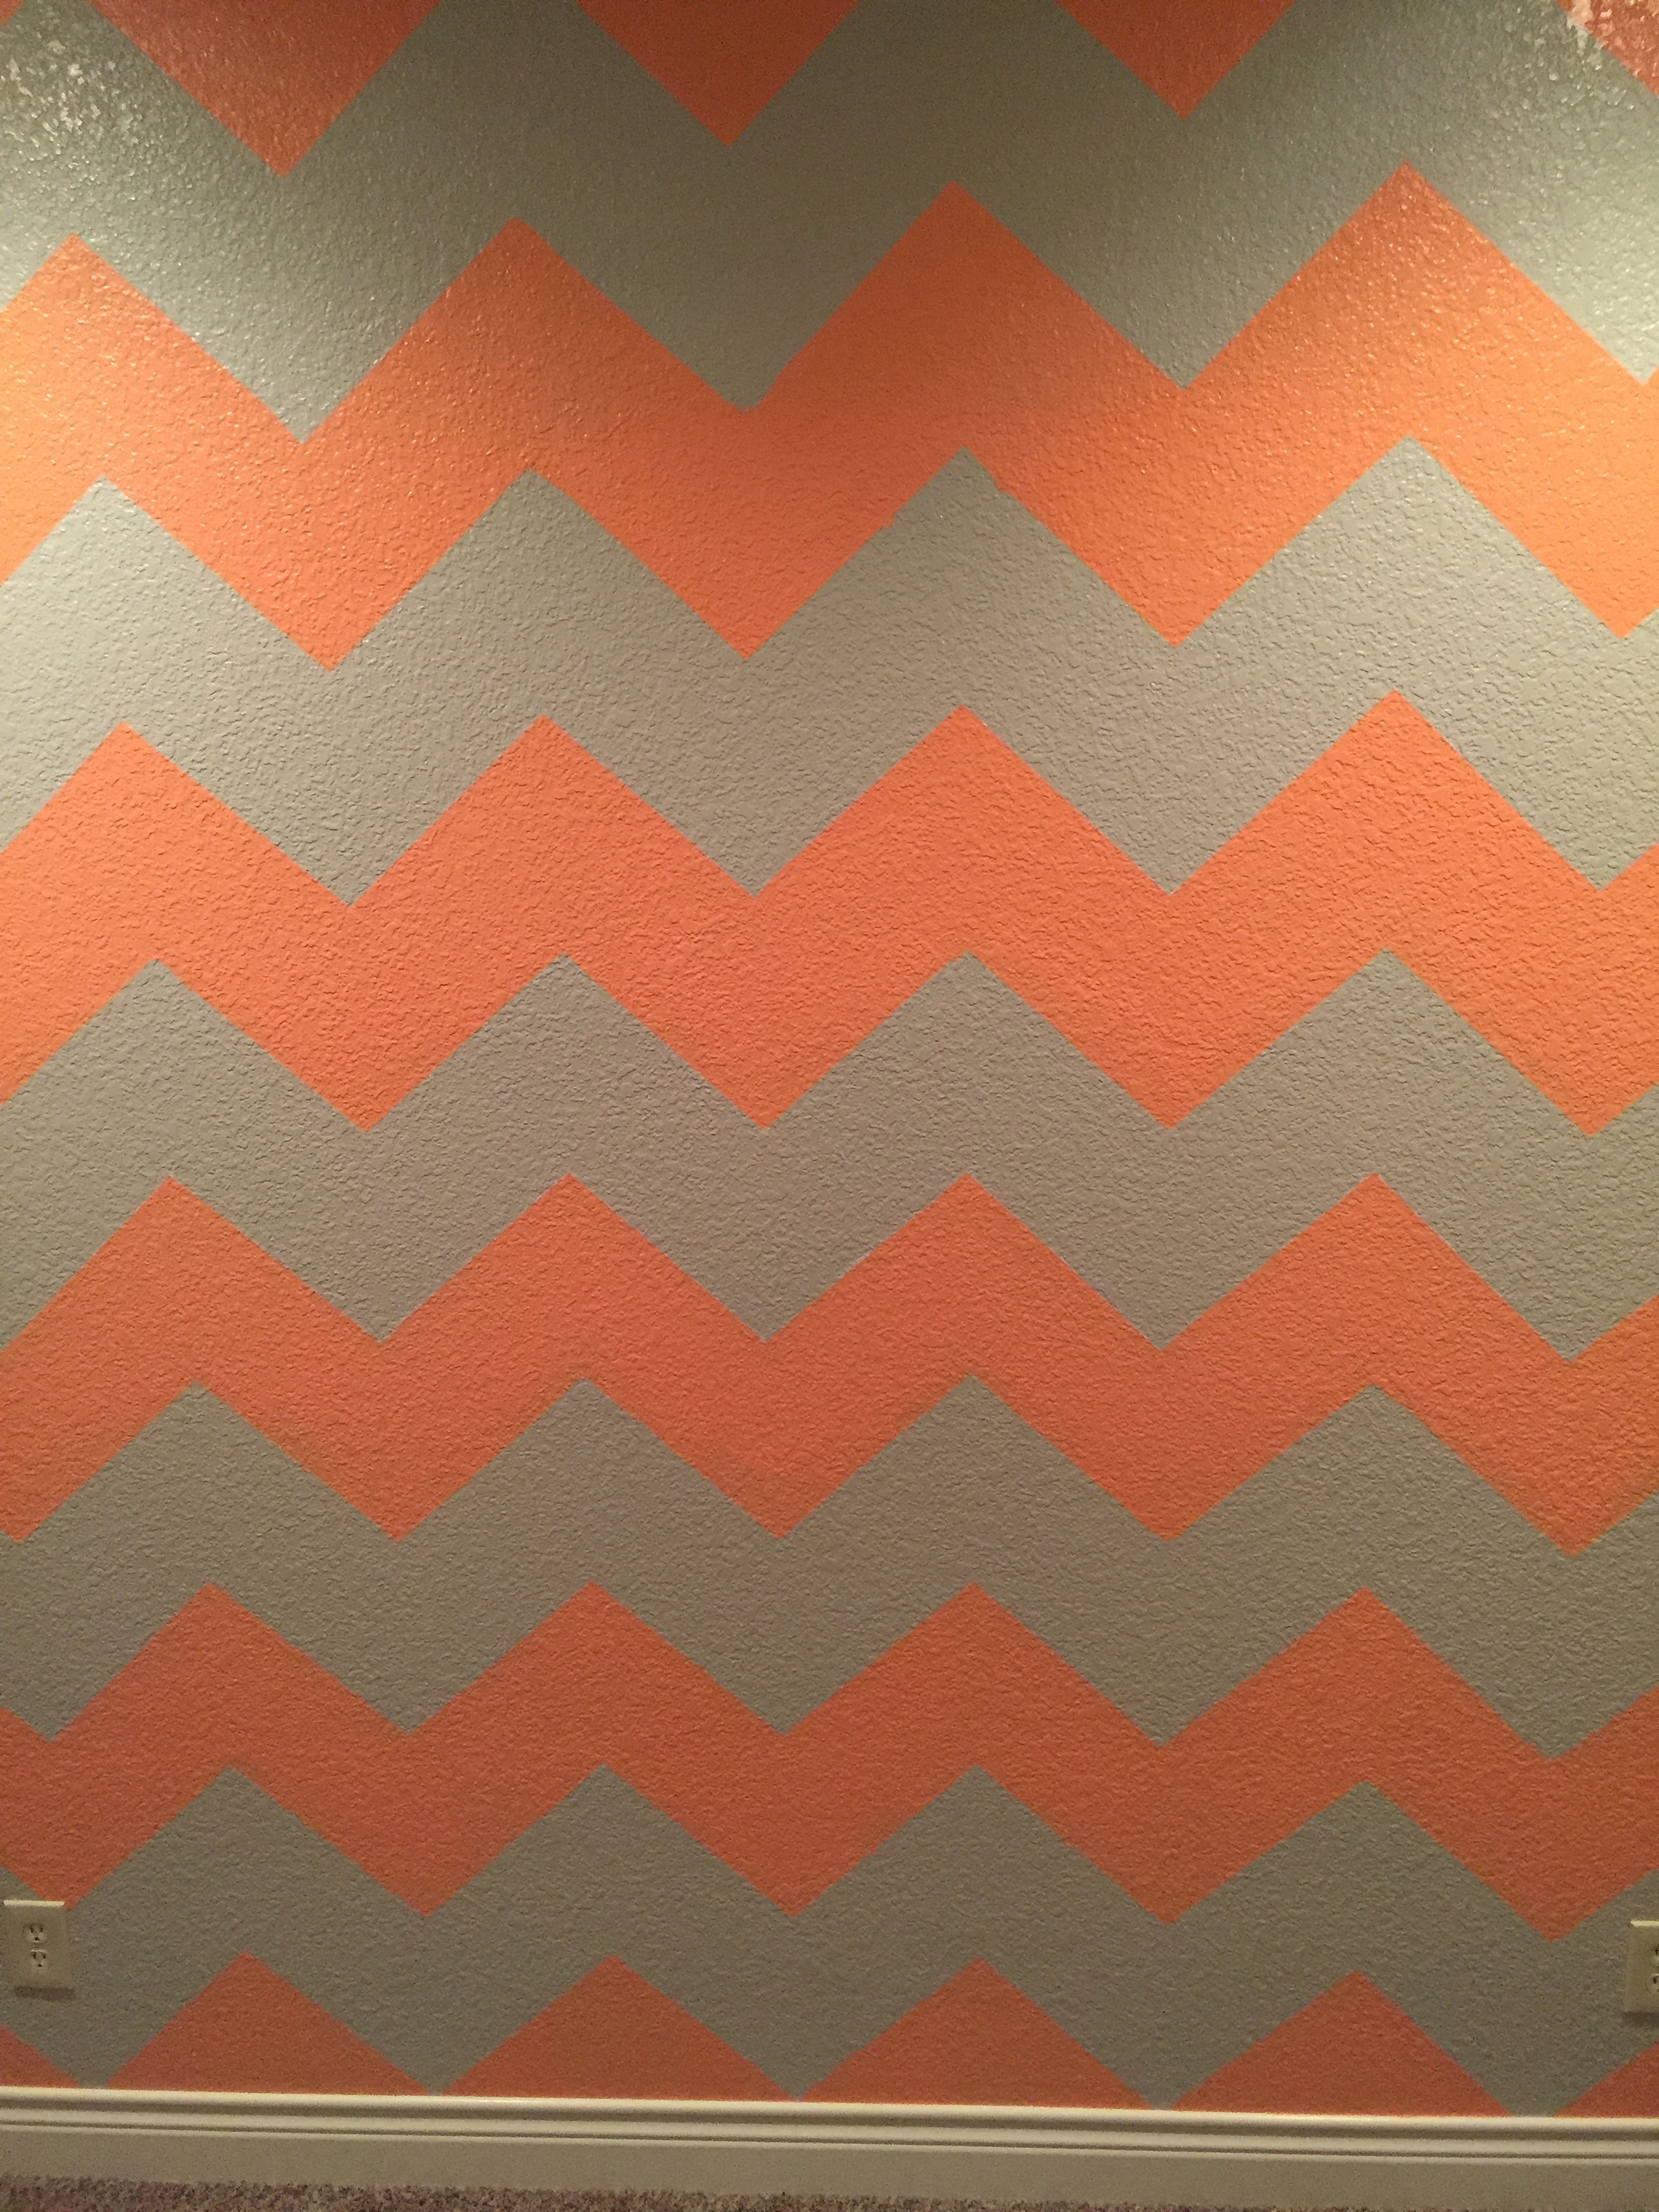
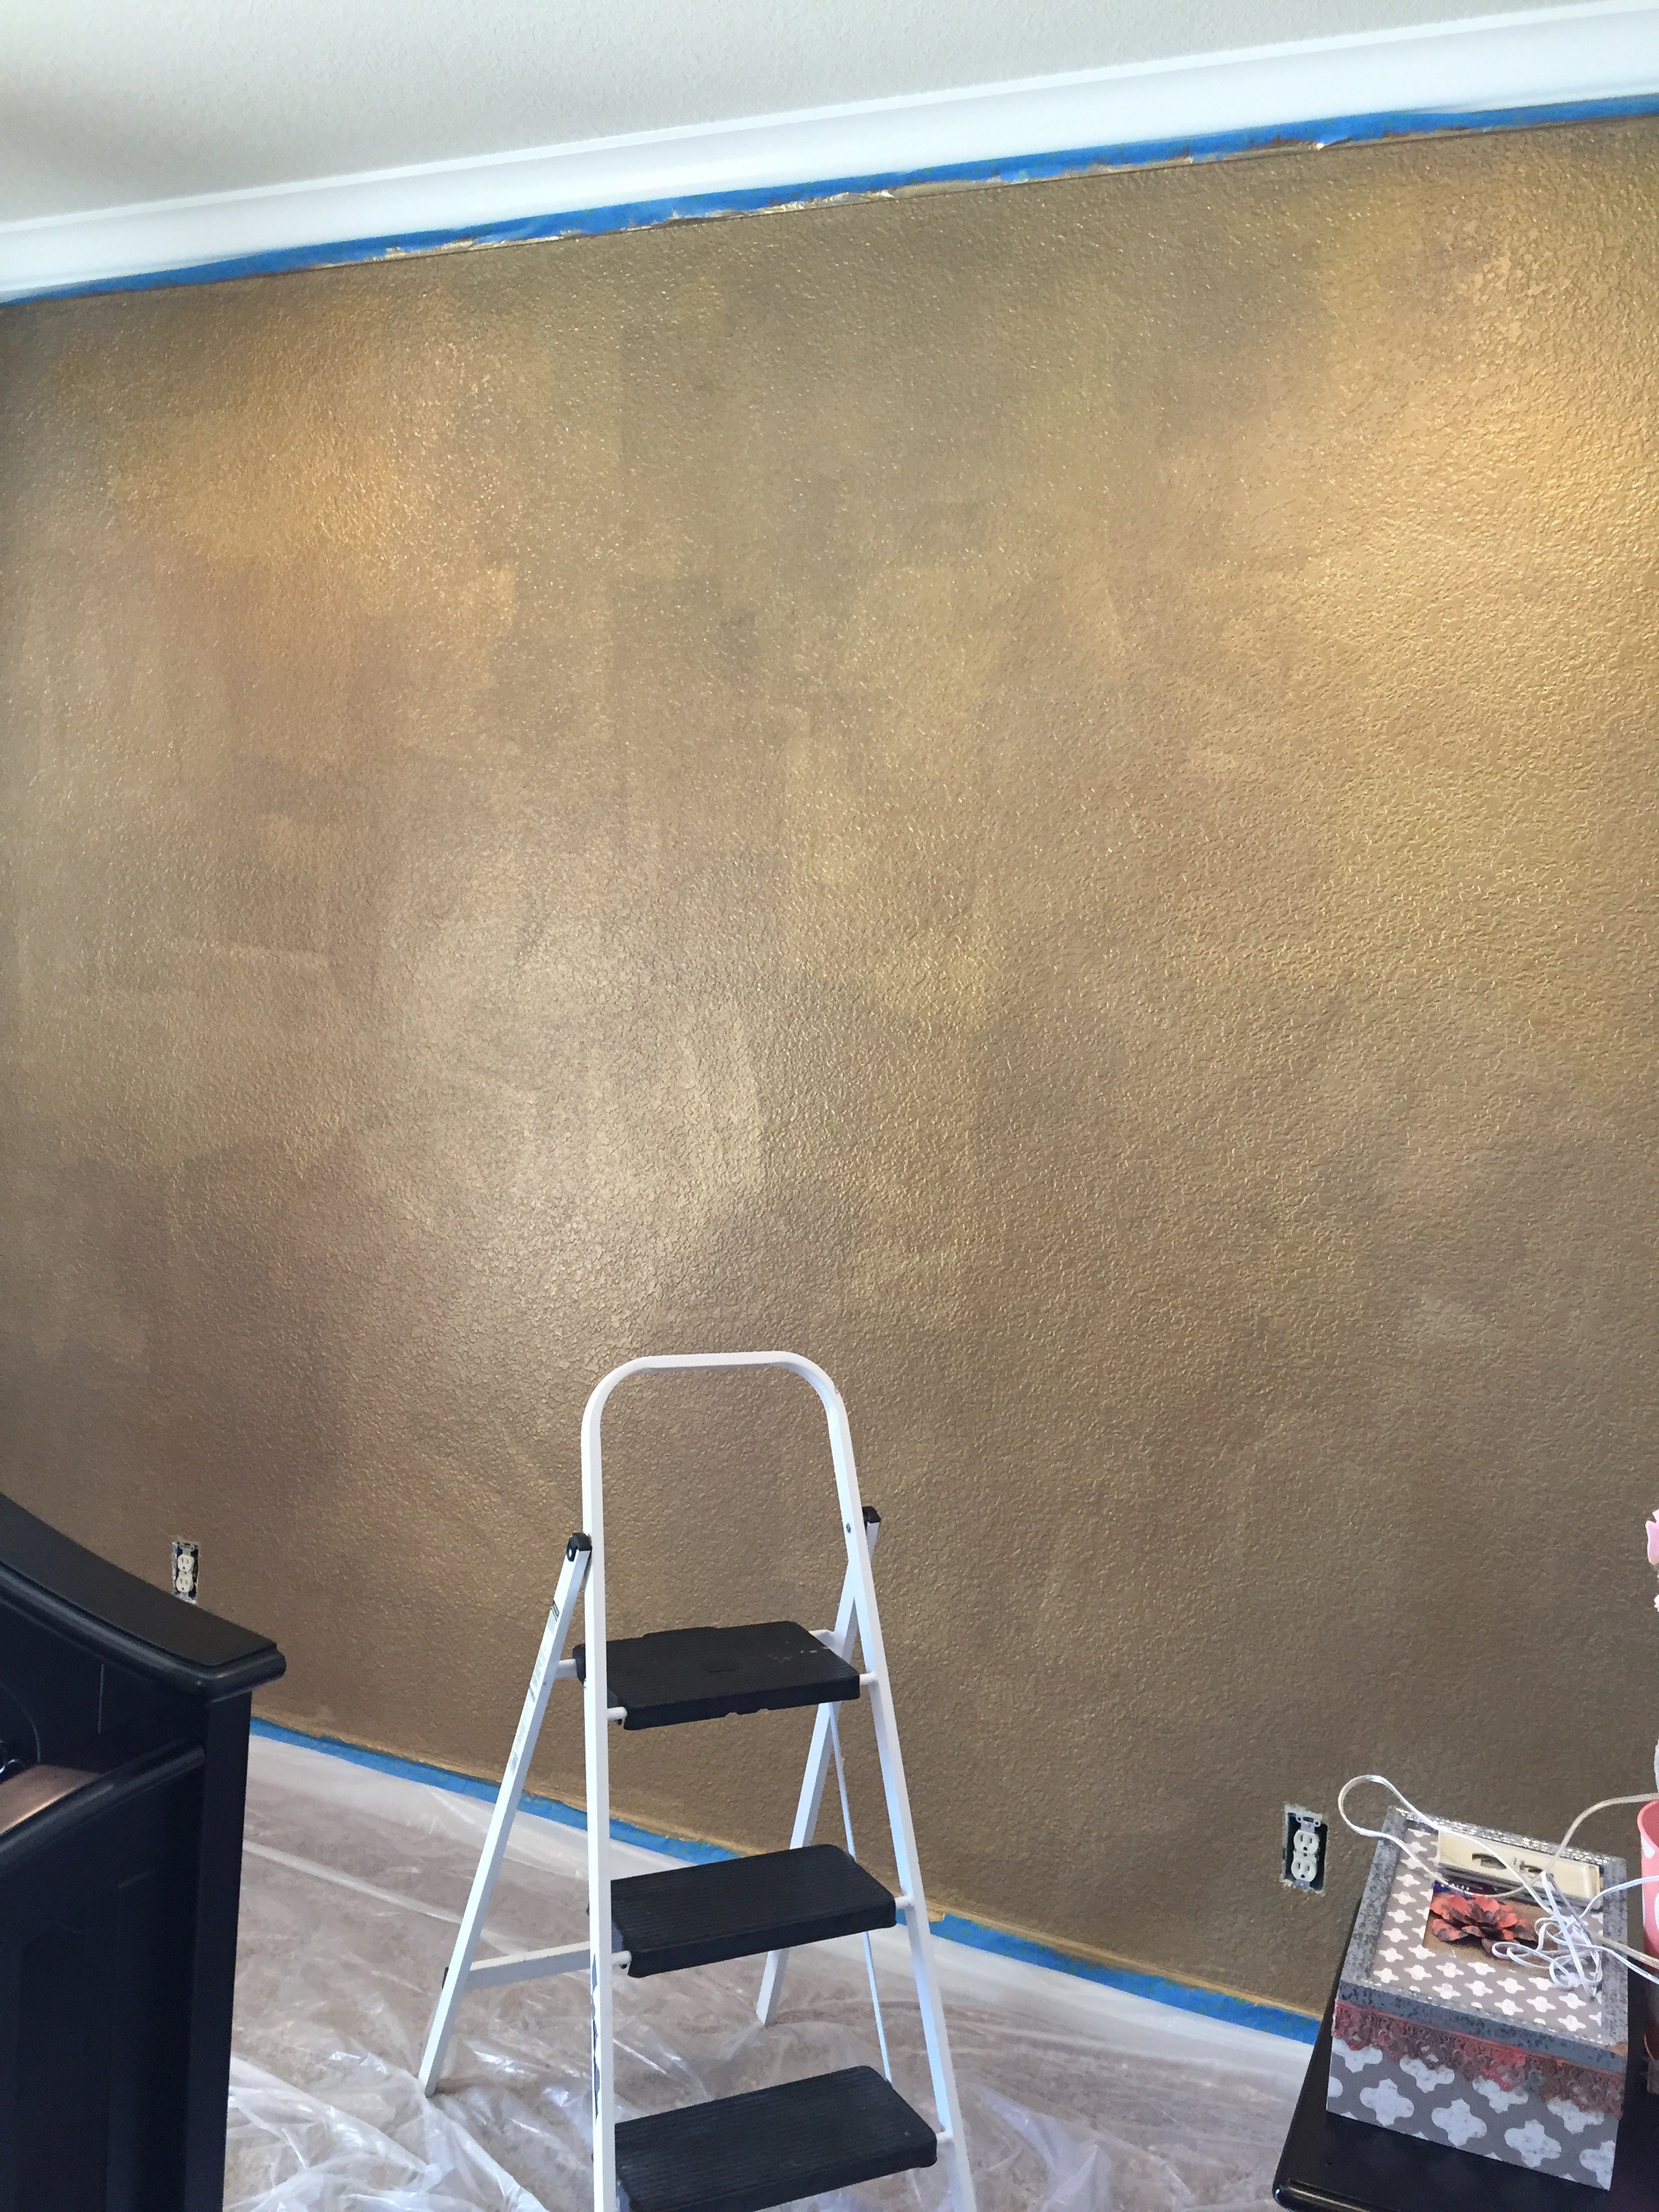
First, I taped the wall off and put the drop cloth down. Then I painted over her chevron wall (sad, I know…) with the Aged Brass paint by Valspar.
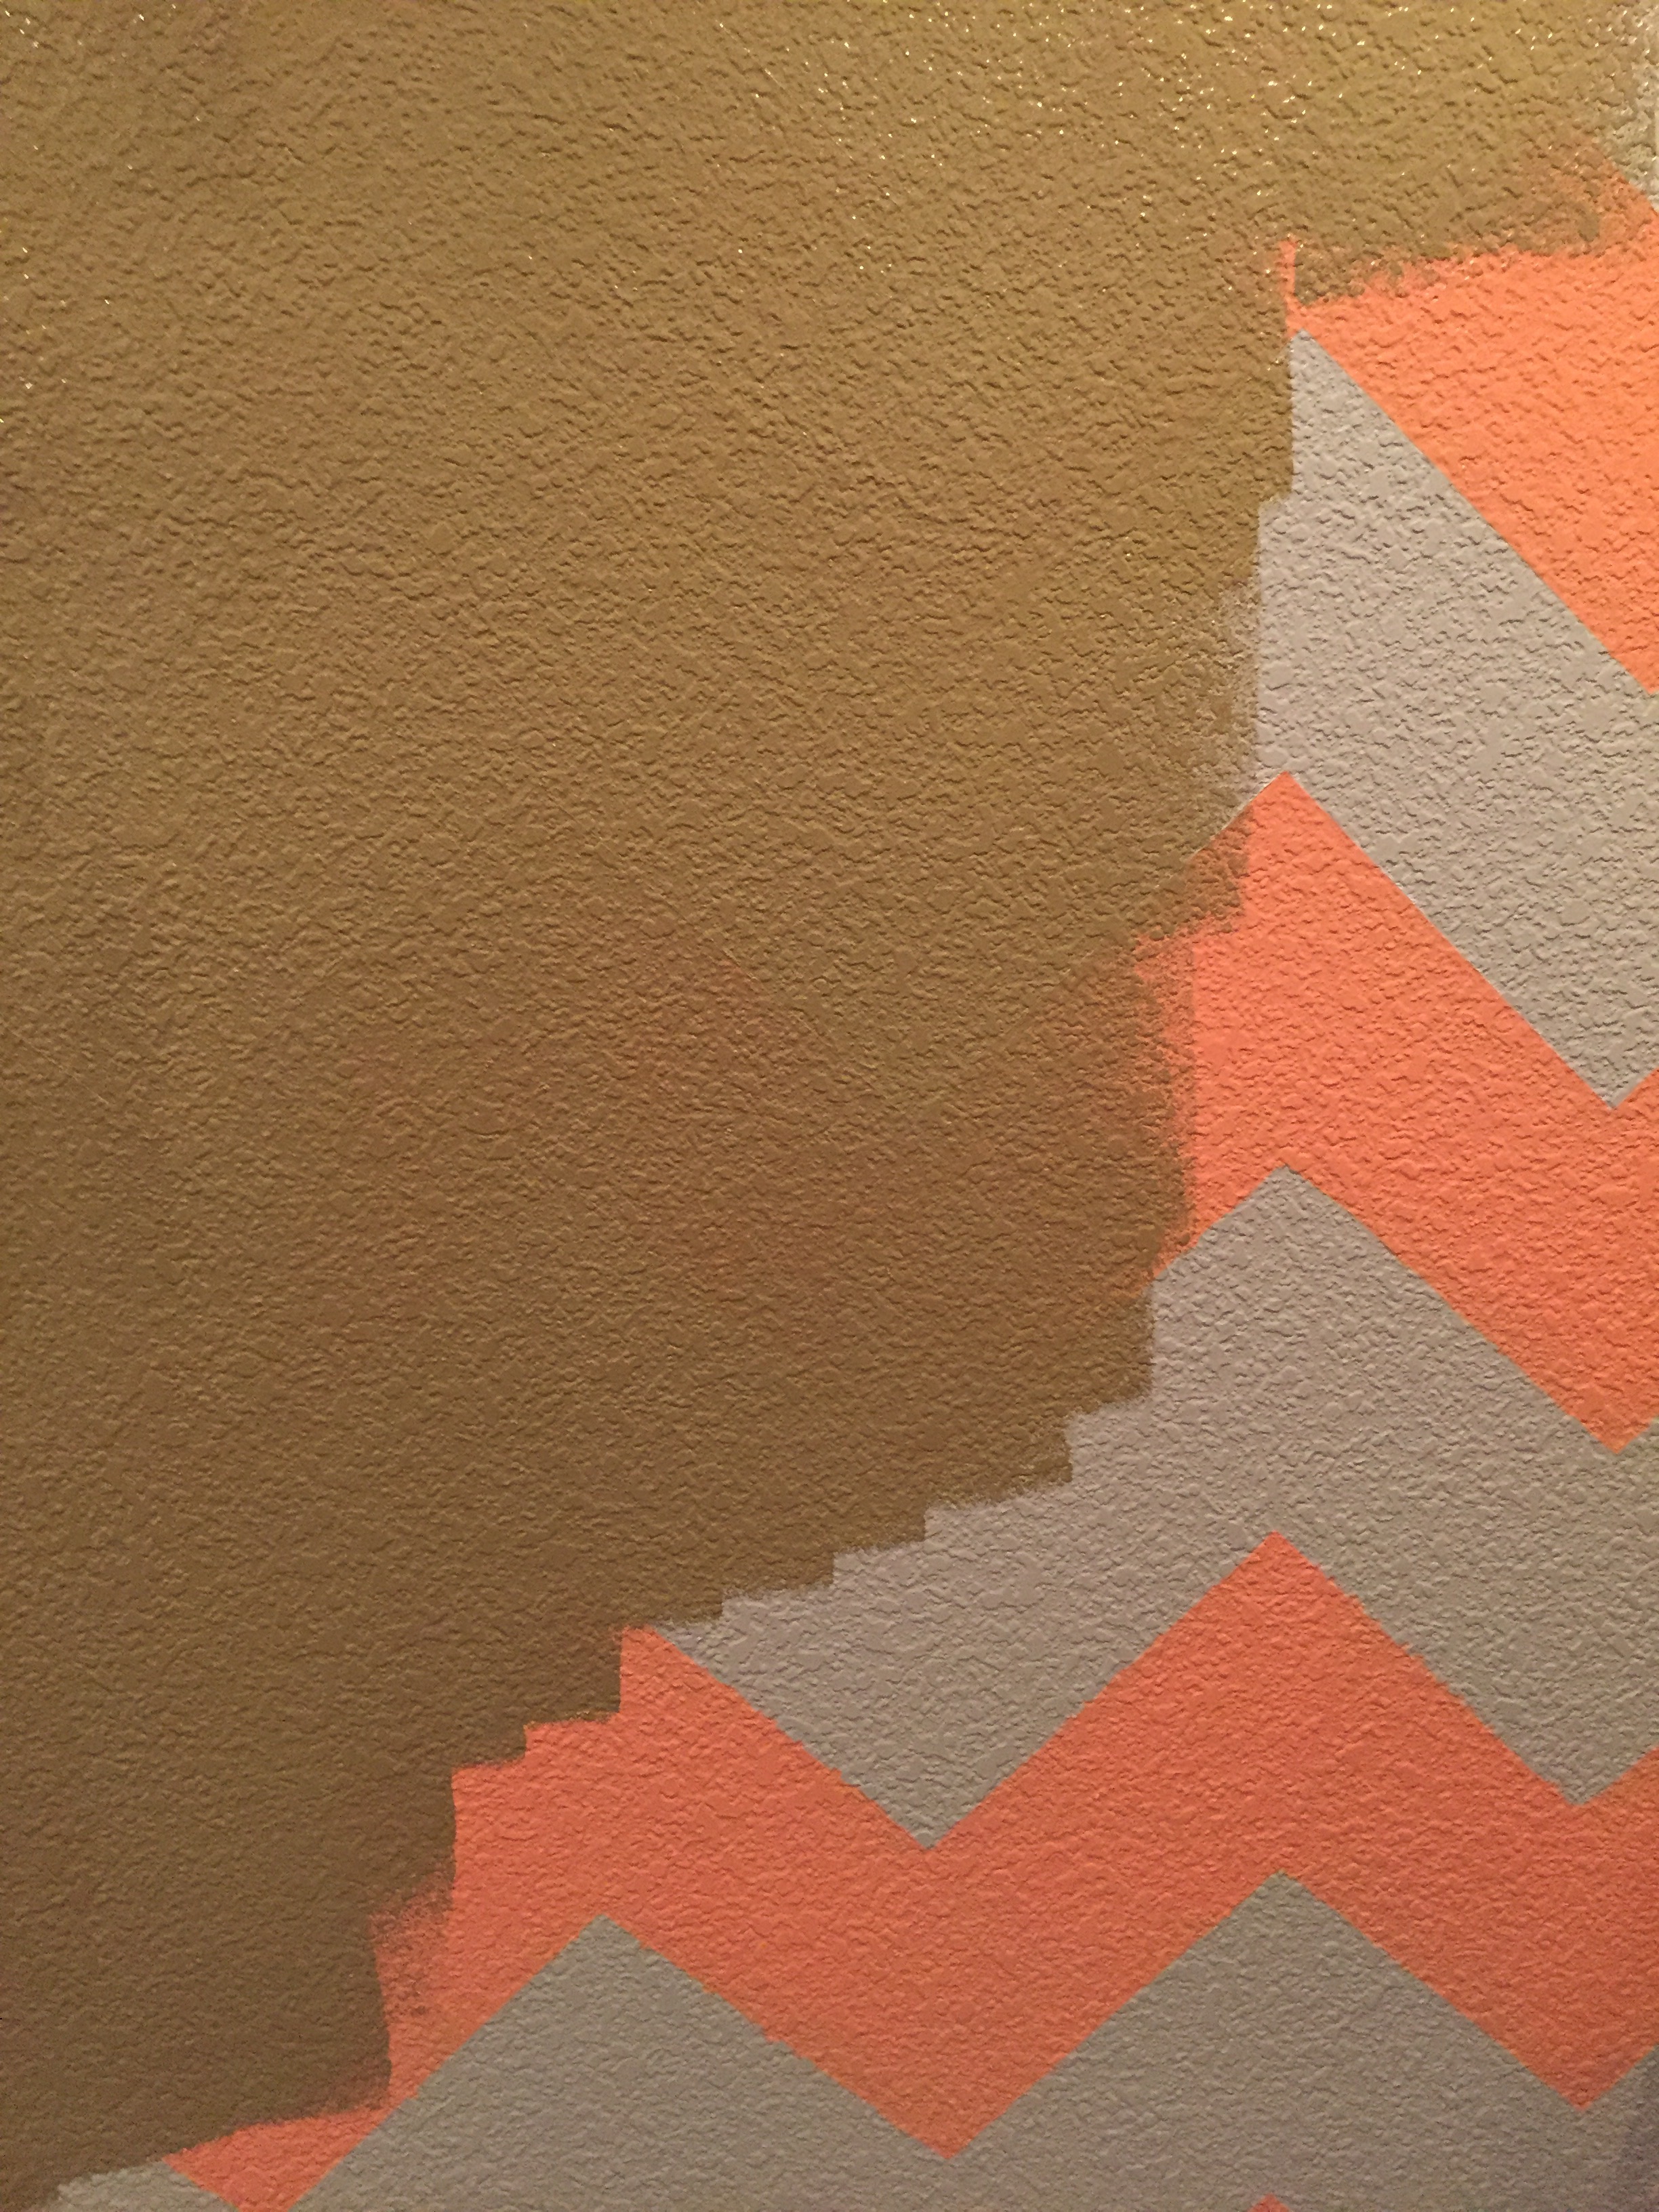
It took two coats to cover the chevron. I let that dry for a day before I started with the glitter.
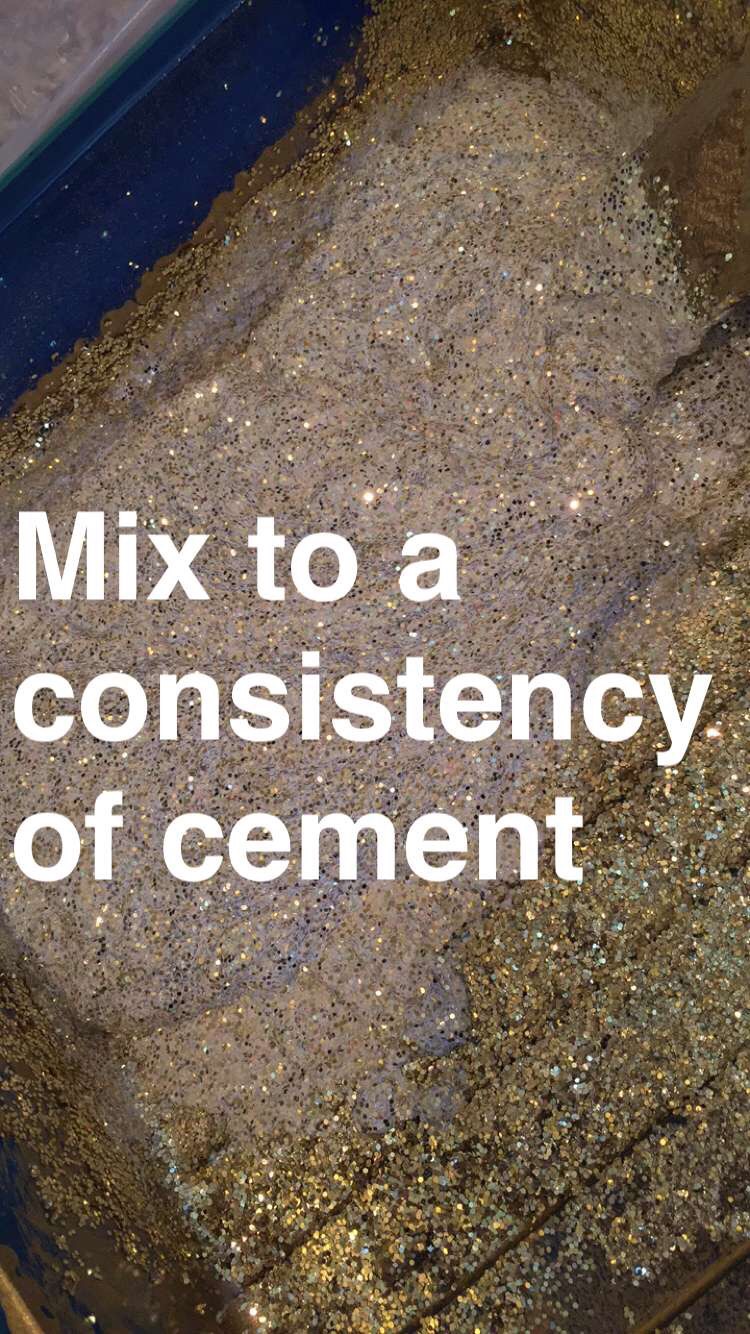
To make the glitter paint, I started by pouring in the Mod Podge and mixing in gold glitter to the consistency that I wanted it. I used A LOT of gold glitter and mixed to the consistency of cement.
I only used a little at a time so that it would not dry out. I used these foam brushes in 4″ and went through several of them. So buy a lot.
So then you are going to paint/plaster it on in an UPWARD motion. If you don’t paint UP then it’s going to get everywhere. I had a drop cloth and paint tape, and really recommend to do the same.
You are going to want to start at small increments and increase once you have covered the space. It took me a good 2-3 days during nap times to get this wall done and I STILL have some touching up to do, so this is not a small and quick project! LC’s wall is 8 ft by 12 ft.
I repeated all of these steps, making the mixture as I painted so I wasn’t wasting any of it. Once I finished, I just waited for it to dry so I could see the spots that I missed. I went back in with a regular paint brush and touched up by “blotting” the mixture instead of painting it on.
Once it dries, just pull the tape off and touch up in any areas that are noticeably empty. I’m STILL touching up several months later. The glitter DOES NOT flake off or come off of the wall in any way. My husband did say that the wall would have to be retextured if we wanted to change it. (oops)….
I wish I would have counted how many glitter bottles/mod podge bottles I used, but I didn’t! I think it was somewhere close to 5 Mod Podge and 18-20 glitter.
I’m sure there is a MUCH better way to do this, but to get the wall as SPARKLY as I wanted it to be, this is what worked for us! We LOVE it, it’s SO SO SO sparkly and Laikyn’s dreams of a pink princess sparkle room has come true!
A little sneak peek… 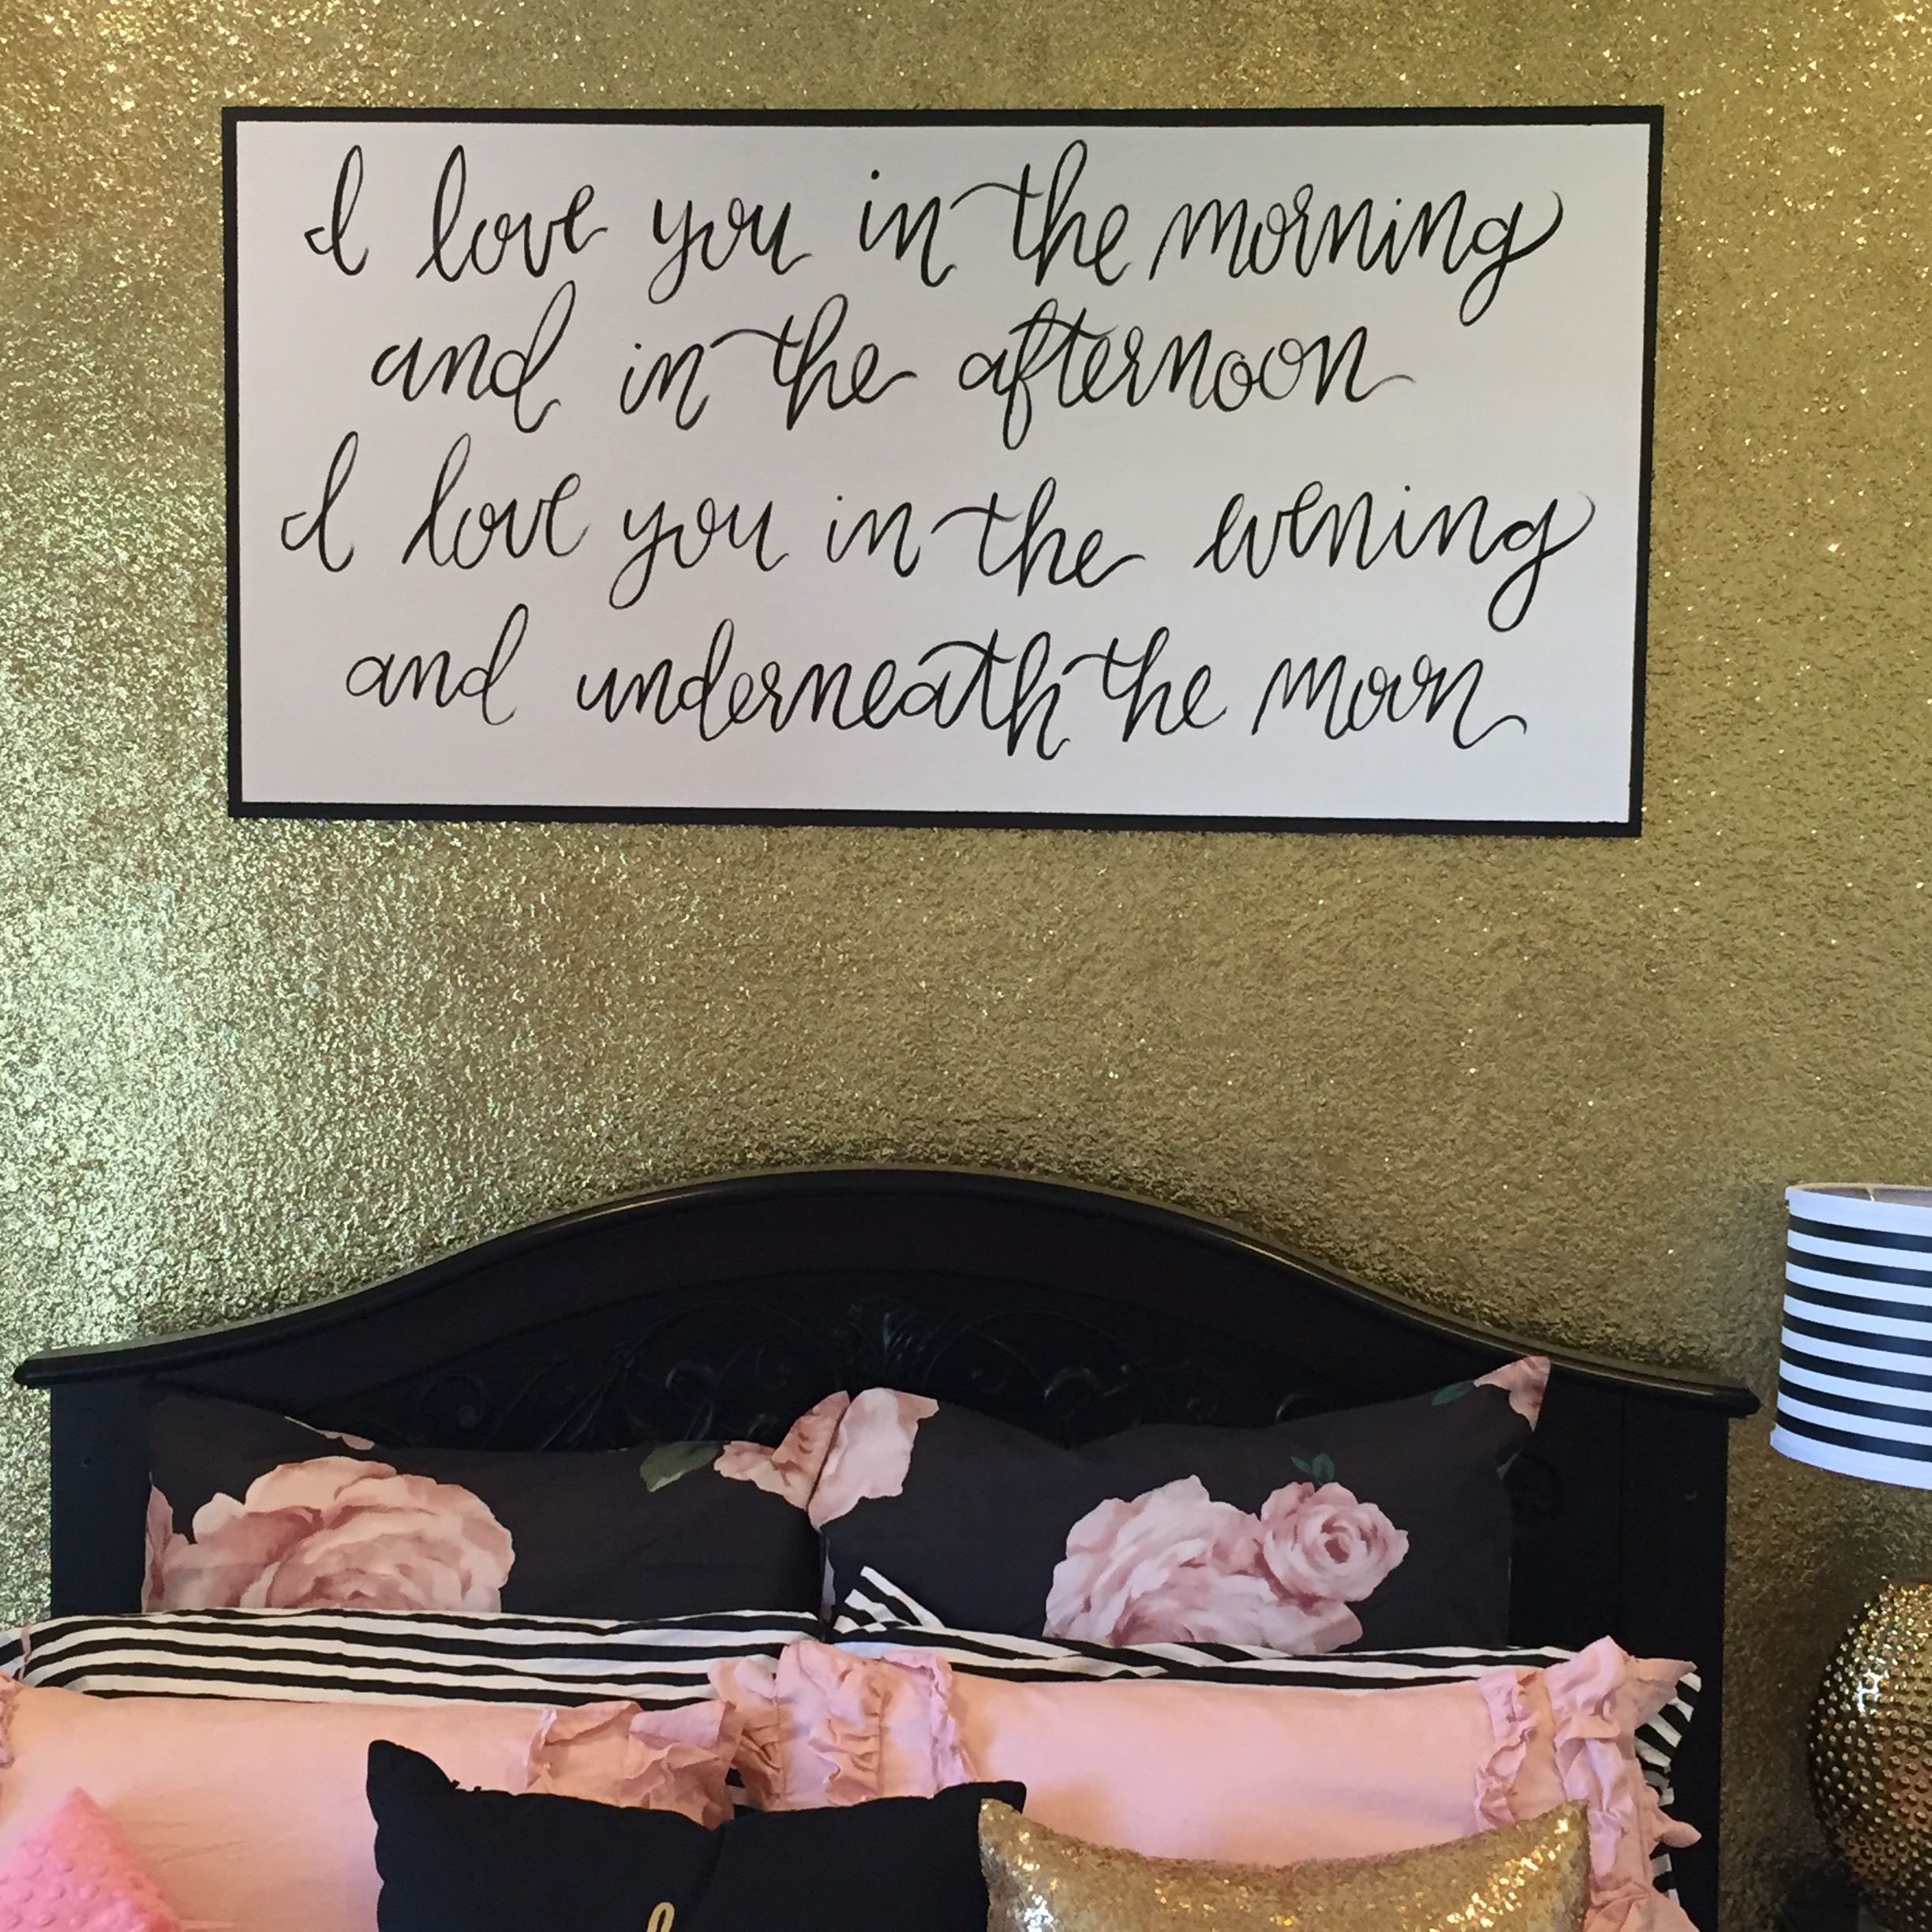
Stay tuned for her Big Girl Room Reveal SOON!
Any questions? Shoot me an email at little.lovelies@yahoo.com or leave a little comment in the comments section below!
Pin this post or share it! And as always follow along with updates, sneak peeks and snippets of our daily life at my Instagram and Snapchat.