Today’s post is all about photos!! One of my most frequently asked questions is what phone I have to take photos, what camera and lens I use and how I edit! Today will be part one as I’m not going to dive too deep into the editing process… But I will tell you everything that I use to get set up and how to get those photos looking great!
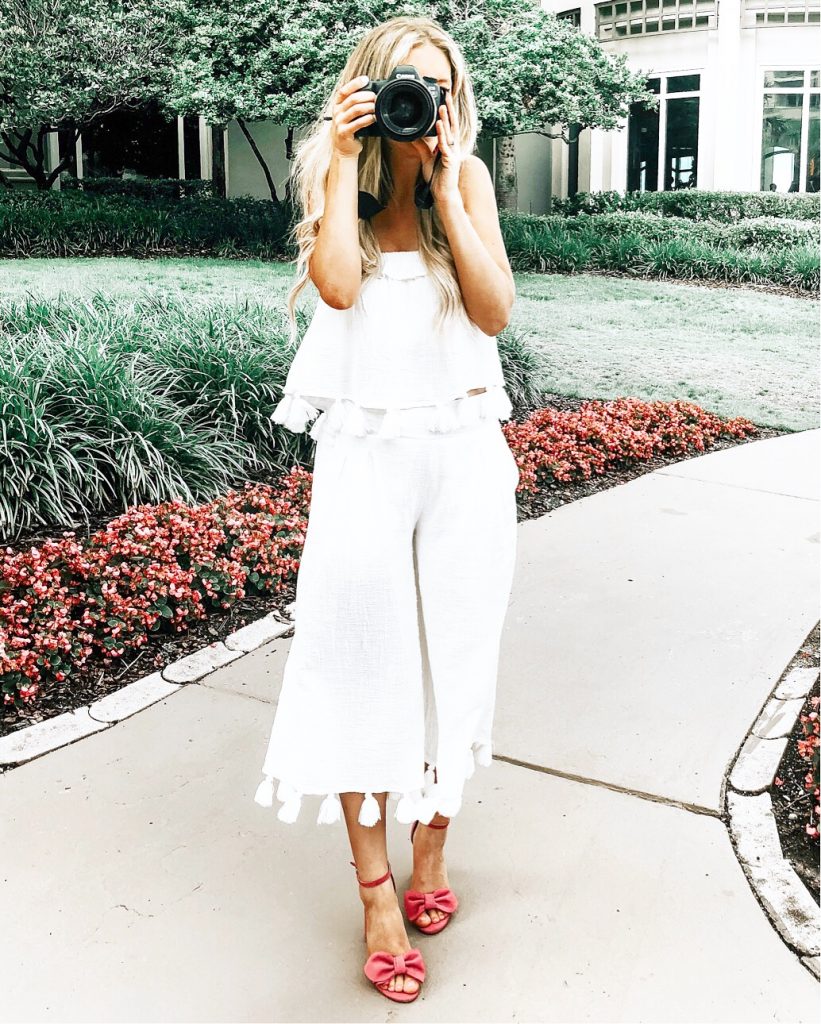
Whether you are a mom wanting to take great photos of your kids, special events, etc. or if you are a blogger and you want to get that perfectly curated feed (which I DO NOT claim to have), I’ll share everything I know to help you get there!
*I am not a professional and these are just some tips/tricks I’ve learned along the way. I will dive deeper into the editing process in Part 2 of this post, but here is what you will need to get started!*
Let’s just start with iPhone photos because I feel like everyone can take and edit a good iPhone photo with a little practice! I use an iPhone X, but have ranged from the iPhone 4 to 6+ when taking photos for my Instagram and blog. While the camera DOES take better photos on the X and 7+, you can still get great photos from whatever phone you currently use.
Tips for Getting a Great Photo
Find good lighting. I like to shoot in shade because they are easier to edit. They may come out a little dark in the camera, but once edited they turn out the way I want them.
Tap the Photo to Focus. When in the camera app in phone, tap the screen to focus on the subject. I try to get whoever is taking the picture to tap to focus on my face or body. If you are using portrait mode this is especially important. I use regular mode on most of my photos.
Take a Billion Photos. No not really, but take a good amount so you have several to choose from. You can always go back and delete later! I usually get one good one out of 25-30 photos taken! Seriously, it’s not an easy task. 😉
Choose the Photo & Edit. Go through the camera roll and favorite the photos you’d like to edit. This makes the editing process 100% easier.
Editing
I use these iPhone apps regularly:
For previous editing, I used VSCO on every single photo. I prefer the preset A6 with some tweaking to the exposure, sharpness, warmth and contrast.
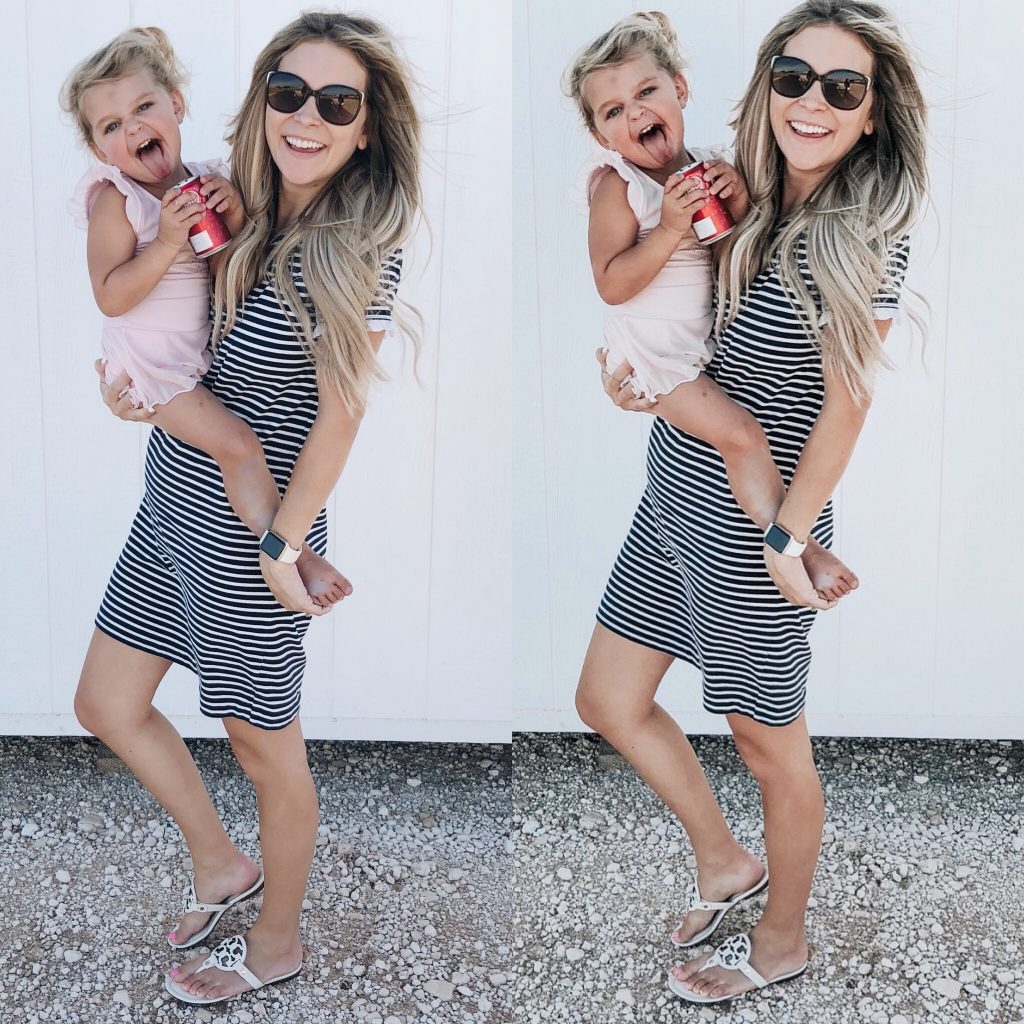
For current editing, I have been using a preset that my friend Allie Boss made for me. She will have these available for purchase very soon, so stay tuned!
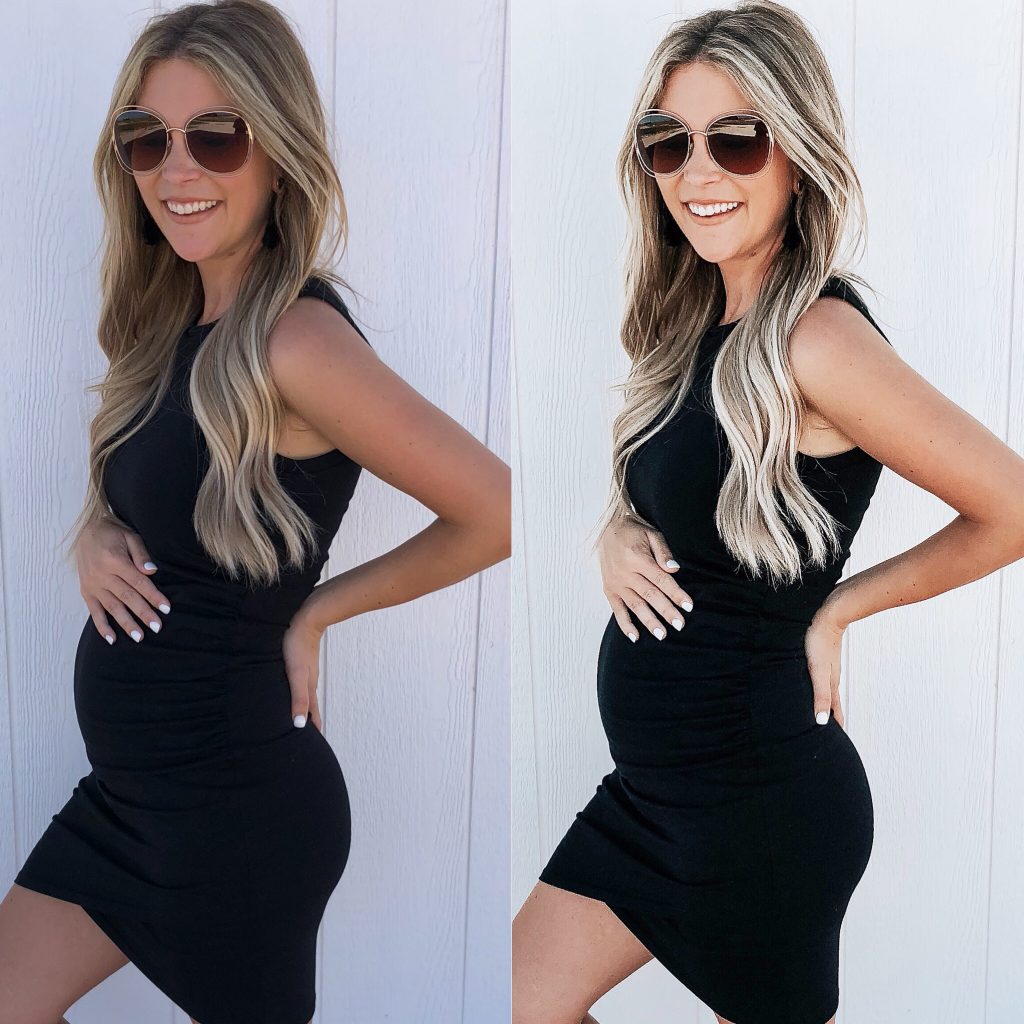
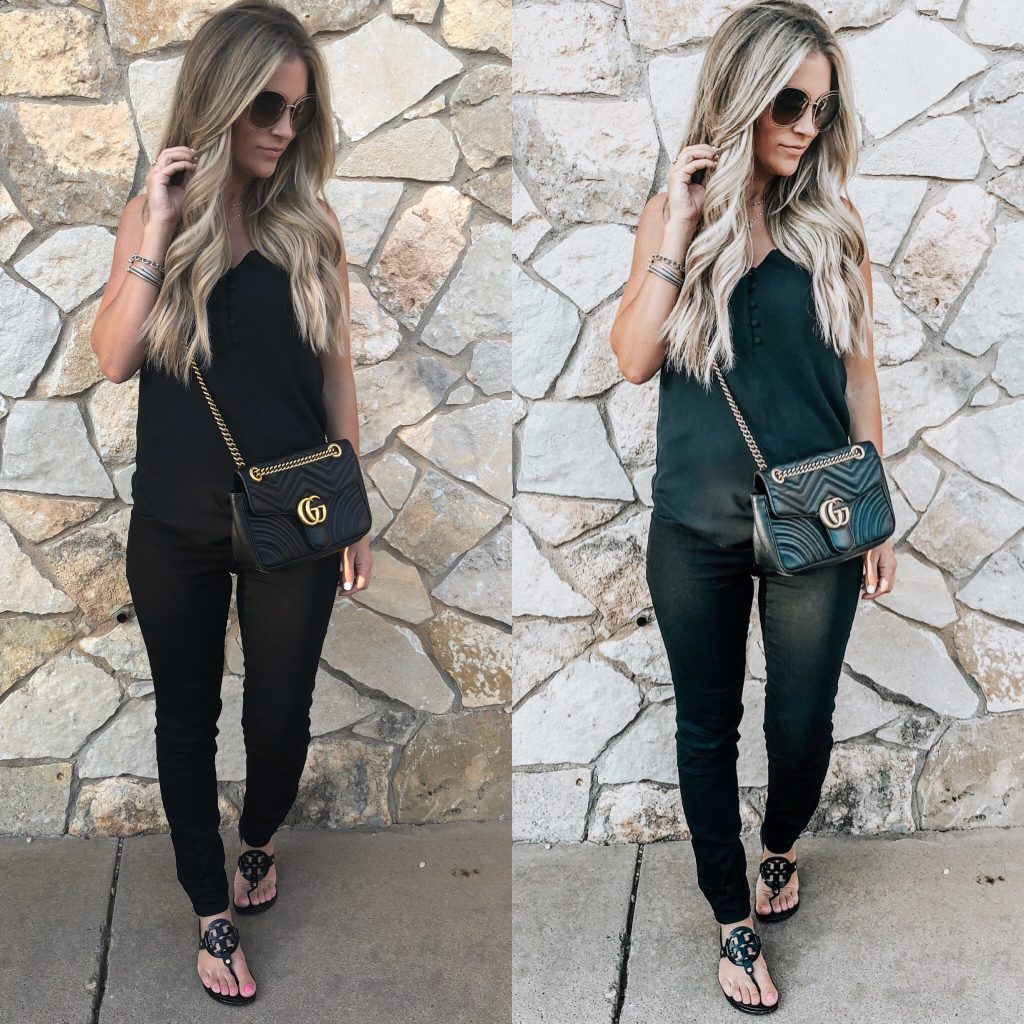
I also love the dream preset by Marina McAvoy. It is similar to the one I’ve been using but have to tweak quite a bit to get the tones I want in my photo. See a before and after below. You can purchase the dream preset here.
I use this app if I need to remove something from the photo or touch up ketchup stains (cue, kids) etc. This is the easiest app and I actually prefer using it over LightRoom.
I use this app very little, but sometimes my photo just seems dull and I’ll go in and add a little detail or sharpness to the photo. This app can be kind of scary as you can actually change your face shape, eye color, body size, etc. I definitely don’t get to crazy with editing in this app and you can most definitely tell when someone does! 😉 Just use with caution on this one unless you want an overly-edited photo.
For Curating a Instagram Feed
This is by far my favorite app and it’s free! You login to your Instagram account through Snug and then are able to see what your feed looks like + upload several others to see what your feed will look like with the new photos. This is similar to Planoly, but free.
DSLR / Camera
I currently use the Canon 6D Mark II and am LOVING it! It is by far the best camera I’ve ever owned and it’s the easiest to shoot with. I shoot in manual mode and try to keep the ISO around 200-300 then adjust the aperture to meet my needs for where I am shooting. Lissa Anglin is my professional photographer friend so I always call on her for help and she also has great Skillshare lessons that are helpful. The lens I use the most is the 35mm/1.4 and also love my 50mm/1.4. I tend to reach for the 35mm for blog photos.
Editing DSLR Photos
I use Adobe Lightroom on my MacBookPro. It’s definitely a learning curve, but I’ve been using it for several years and finally feel confident in my own photos. I’ve bought presets from Mastin Labs, Cole’s Classroom, BanAvenue Photography and Angie Garcia Photography. I prefer using the Mastin Labs presets and editing to my taste, but if you’re looking for a one-click-fix, the BanAvenue presets are the best that I’ve used. I always tweak the exposure (brightness), sharpness, white balance, contrast and saturation to meet the photos needs.
That’s all for now!! Let me know if yall have any questions and I can dive deeper into those in the next post! I just wanted to get this up for those of you that have been asking about my photo process! Behind the scenes, it takes a WHOLE LOT MORE than you think to get a photo to post. There is so much process that goes into the photo before it’s actually posted for you to see. Then once it’s posted, there is a process for it to be seen and promoted! It’s not as easy as it looks and I admire every single one of you who gets those photos up daily!
Hope you all are having the best week! We are headed to Las Vegas for a little time away with my hubby and then my family in a few days! We’re excited to have some down time. Comment here and I’ll try to respond to questions and give more clarity on the photo taking and editing process if needed! Thanks for reading!


Hi Ashlee! Thanks for the great post! Newbie here- why do you grab a preset vs. making your own in Lightroom? Do purchased presets have extra items you can’t do normally?